Master the Basics: Essential Home Repair Skills That Are Easy to Learn
Owning or renting a home comes with a list of responsibilities, and knowing how to handle basic repairs can save you time, money, and frustration. The good news? Many essential home repair skills are surprisingly easy to learn. Here’s a guide to the most practical skills every homeowner (or renter) should have in their toolbox.
1. Fixing a Leaky Faucet
A dripping faucet isn’t just annoying—it can waste gallons of water over time.
- What You’ll Need: A wrench, replacement washers, and a screwdriver.
-
The Process:
- Turn off the water supply.
- Disassemble the faucet to access the washer.
- Replace the worn-out washer and reassemble the faucet.
Learning this simple fix can save you on water bills and prevent bigger plumbing issues.
2. Unclogging Drains
Slow or clogged drains are common, but they’re often easy to clear.
- What You’ll Need: A plunger, drain snake, or baking soda and vinegar.
-
The Process:
- Use a plunger to remove minor blockages.
- For stubborn clogs, feed a drain snake into the pipe to break it up.
- Alternatively, pour baking soda and vinegar into the drain, let it sit, and flush with hot water.
Regular maintenance can prevent major clogs and keep water flowing freely.
3. Patching Small Holes in Walls
Whether it’s from nails, screws, or accidental dings, repairing small holes in drywall is a breeze.
- What You’ll Need: Spackle, a putty knife, and sandpaper.
-
The Process:
- Apply spackle to the hole using a putty knife.
- Smooth it out and let it dry.
- Sand it down and touch up with matching paint.
This skill is especially handy for renters who want to get their security deposit back.
4. Replacing a Light Fixture
Upgrading a light fixture can dramatically change a room’s look.
- What You’ll Need: A screwdriver and a voltage tester.
-
The Process:
- Turn off the power at the breaker box.
- Remove the old fixture and disconnect the wires.
- Connect the new fixture’s wires to the existing ones and secure it in place.
Always double-check that the power is off before starting any electrical work.
5. Repairing a Running Toilet
A constantly running toilet can waste a lot of water, but fixing it is often simple.
- What You’ll Need: Replacement parts like a flapper or fill valve.
-
The Process:
- Open the tank and inspect the parts.
- Replace the flapper or adjust the chain as needed.
- Test the flush mechanism to ensure it’s working properly.
A quick fix can save you from inflated water bills.
6. Caulking Cracks and Gaps
Cracks around windows, doors, or in bathrooms can lead to drafts or water damage.
- What You’ll Need: Caulk and a caulking gun.
-
The Process:
- Clean the area to remove old caulk or debris.
- Apply a steady bead of caulk along the crack or gap.
- Smooth it out with your finger or a caulking tool.
Proper caulking keeps your home energy-efficient and watertight.
7. Resetting a Tripped Circuit Breaker
Power outages in specific areas of your home often result from a tripped breaker.
- What You’ll Need: Access to your breaker box.
-
The Process:
- Locate the tripped breaker (it will be in the “off” or middle position).
- Flip it fully to the “off” position, then back to “on.”
Knowing this skill can restore power quickly without needing an electrician.
8. Hanging Shelves or Artwork
Properly hanging shelves or artwork ensures they’re secure and level.
- What You’ll Need: A level, measuring tape, drill, and wall anchors.
-
The Process:
- Mark the desired location on the wall.
- Use a drill to insert wall anchors if needed.
- Secure the shelf or artwork with screws.
This skill adds function and style to your home.
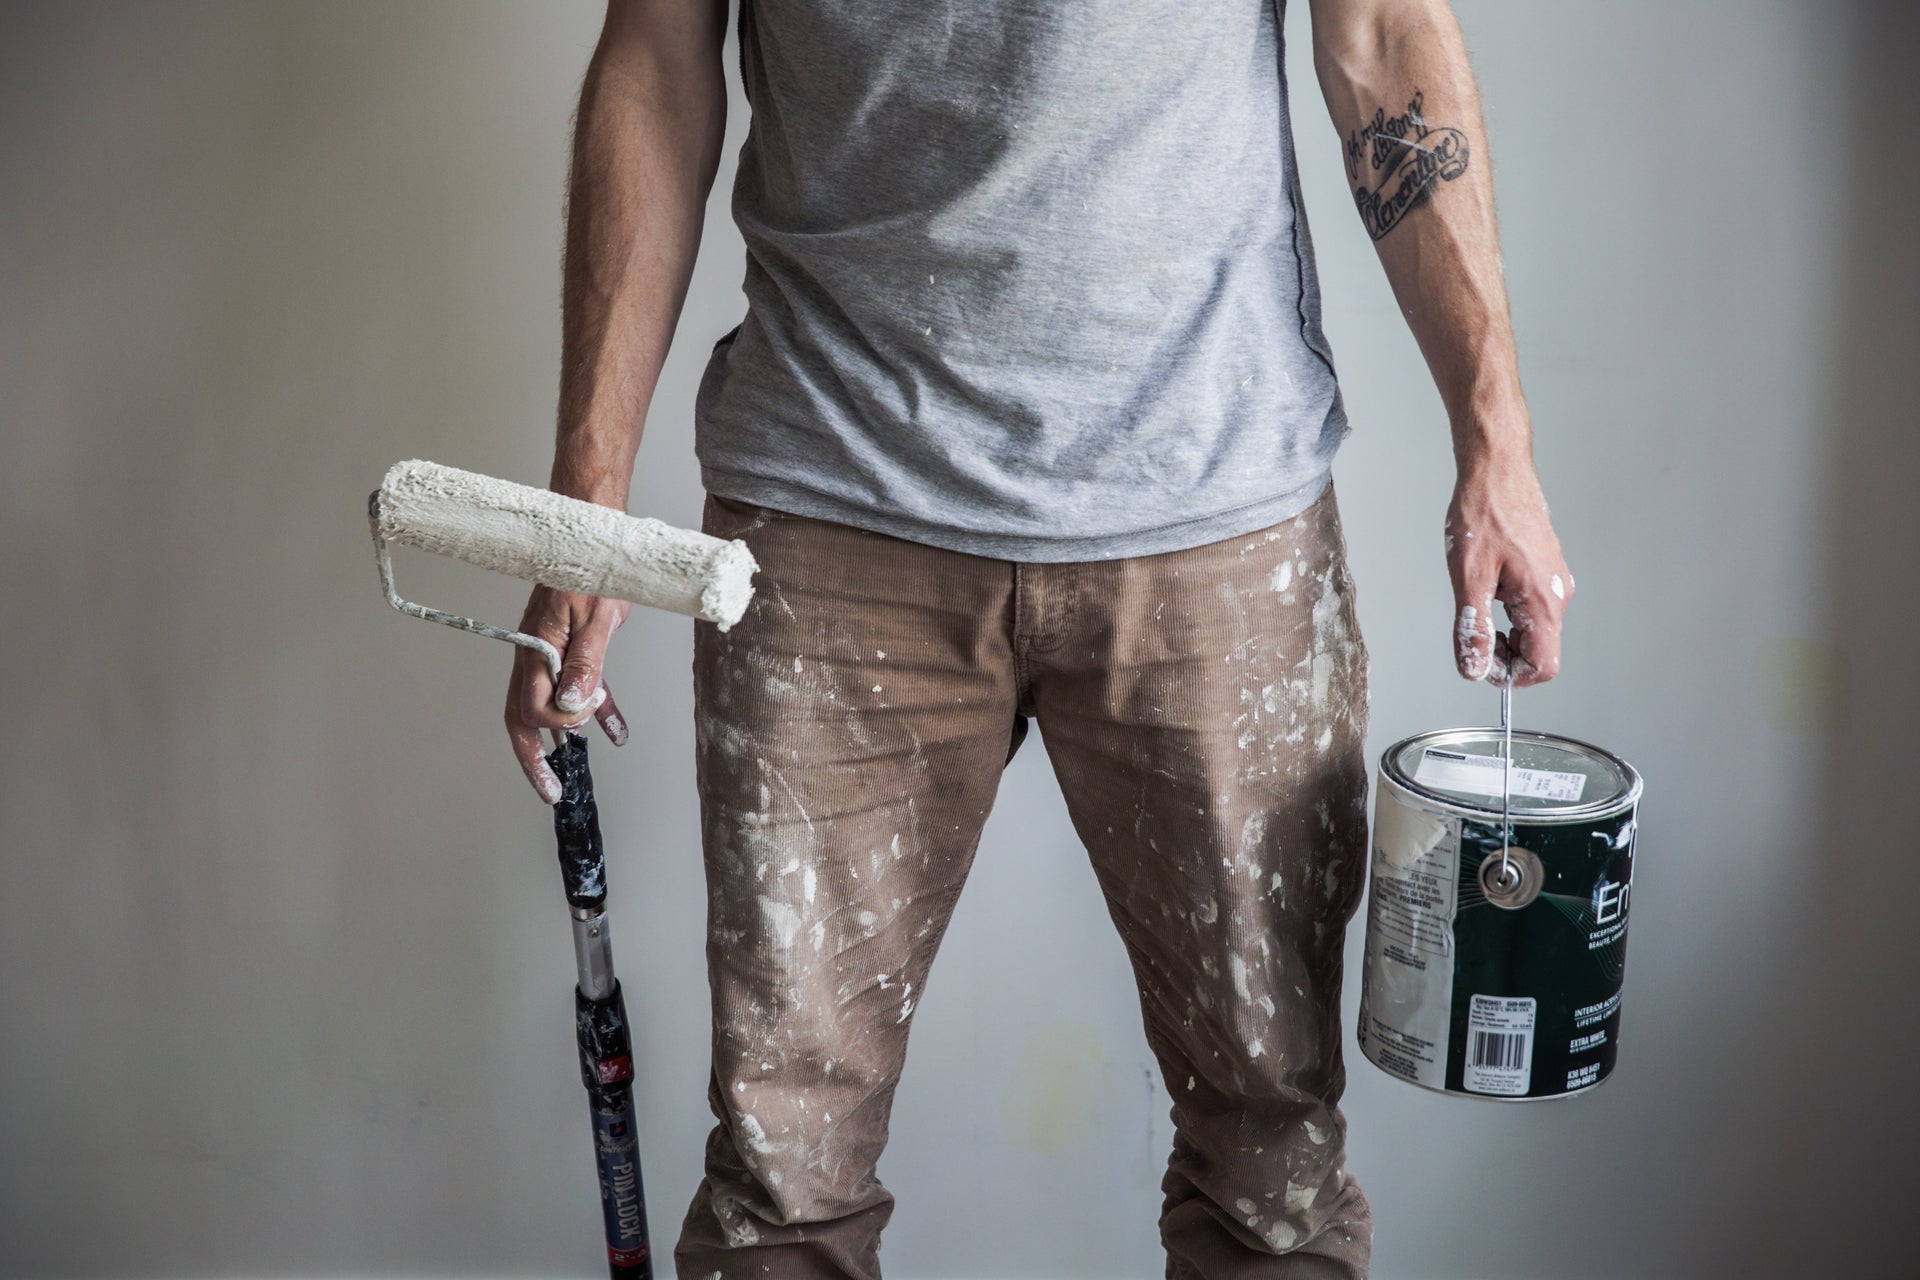
9. Touching Up Paint
Small scuffs and scratches on walls are easy to fix.
- What You’ll Need: Matching paint, a small brush, and painter’s tape.
-
The Process:
- Clean the area to remove dirt or grease.
- Apply a small amount of paint to the damaged area.
- Blend it into the surrounding wall for a seamless finish.
A quick touch-up keeps your walls looking fresh and clean.
10. Fixing Loose Cabinet Hinges
Loose cabinet doors are both annoying and unsightly.
- What You’ll Need: A screwdriver and possibly longer screws.
-
The Process:
- Tighten the screws on the hinge using a screwdriver.
- If the screw holes are stripped, use longer screws or insert wood filler before reattaching.
This simple fix ensures smooth and sturdy cabinet function.
Final Thoughts
Learning these essential home repair skills empowers you to tackle minor issues with confidence, saving you money and avoiding unnecessary stress. Plus, there’s a sense of satisfaction that comes with solving problems yourself.